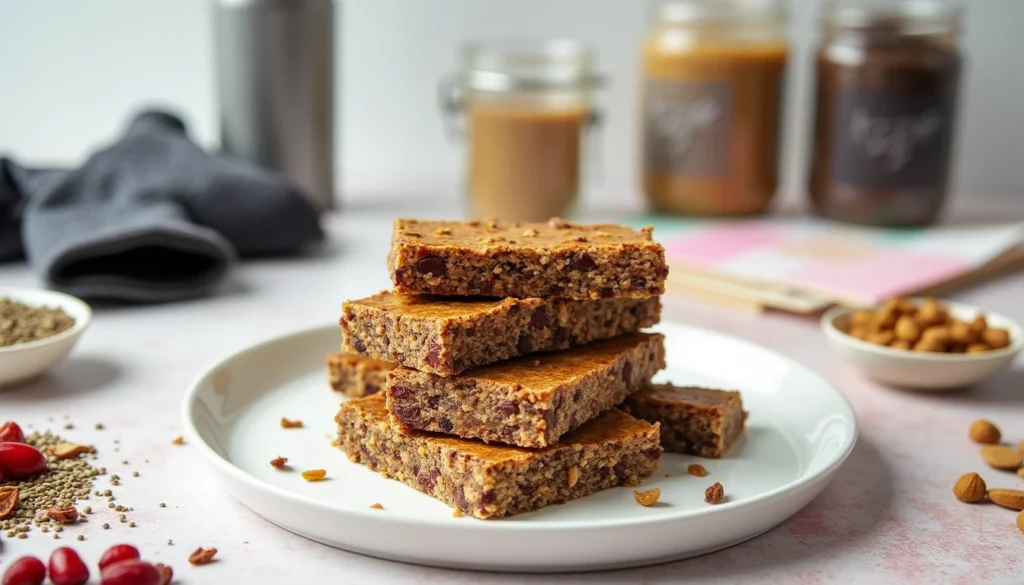
Are you tired of searching for vegan snacks to buy that check all the boxes—nutritious, satisfying, and packed with flavor? These homemade vegan protein bars are here to save the day! Perfect for meal prep or grabbing on the go, they’re not just a convenient snack but a powerhouse of plant-based protein. Whether you’re wondering are Oreos vegan or exploring new vegan snack recipes, this easy-to-follow recipe will become your favorite addition to your vegan snack box. Ready to impress your taste buds and fuel your fitness goals? Let’s dive in!
Table of Contents
Key Benefits
Why should you make these vegan protein bars instead of grabbing store-bought options? Let’s break it down:
- Packed with Protein: Each bar is loaded with plant-based protein, making them a fantastic option for post-workout recovery or a mid-day energy boost.
- Customizable and Cost-Effective: Unlike many vegan snacks to buy, this recipe allows you to control the ingredients, ensuring no hidden sugars or preservatives.
- Perfect for Meal Prep: Make a batch ahead of time and store them in your freezer for a week’s worth of convenient, healthy snacks.
- Kid-Friendly and Versatile: These bars double as a grab-and-go snack for kids or a vegan appetizer for casual get-togethers.
- Environmentally Friendly: By making your own vegan protein bars, you reduce packaging waste while enjoying fresh, wholesome goodness.
Whether you’re a fitness enthusiast or someone exploring vegan snack recipes, these bars are the perfect addition to your routine. Let’s dive into what you’ll need to make them!

Ingredients
Here’s everything you’ll need to create these delicious vegan protein bars. Most of these ingredients are pantry staples, making this recipe as convenient as it is nutritious:
- Rolled Oats (1 ½ cups): The base of the bars, providing fiber and a satisfying chewy texture.
- Plant-Based Protein Powder (½ cup): Choose your favorite flavor to enhance the taste—vanilla or chocolate work beautifully.
- Nut Butter (½ cup): Almond, peanut, or cashew butter binds everything together while adding healthy fats.
- Maple Syrup (⅓ cup): A natural sweetener that keeps the bars refined sugar-free.
- Chia Seeds (2 tbsp): These tiny seeds pack a nutritional punch with omega-3s and added texture.
- Dried Fruit (½ cup): Raisins, cranberries, or chopped dates lend natural sweetness and chewiness.
- Dark Chocolate Chips (optional, ¼ cup): For a touch of indulgence—check the label to ensure they’re vegan-friendly.
- Sea Salt (½ tsp): Balances the sweetness and enhances flavors.
Optional Add-Ins
- Coconut Flakes (¼ cup): For a tropical twist.
- Pumpkin Seeds (¼ cup): A crunchy addition with a boost of protein and nutrients.
- Cinnamon or Vanilla Extract (1 tsp): To add warm, aromatic flavors.
Each ingredient plays a role in making these bars a standout among vegan snack recipes. Feel free to experiment with substitutions to suit your taste or dietary needs. Now that you’ve got everything ready, let’s move on to the fun part—putting it all together!
Instructions
Making these vegan protein bars is as simple as mixing, pressing, and chilling. Follow these steps, and you’ll have a delicious snack ready in no time:

- Prepare Your Pan
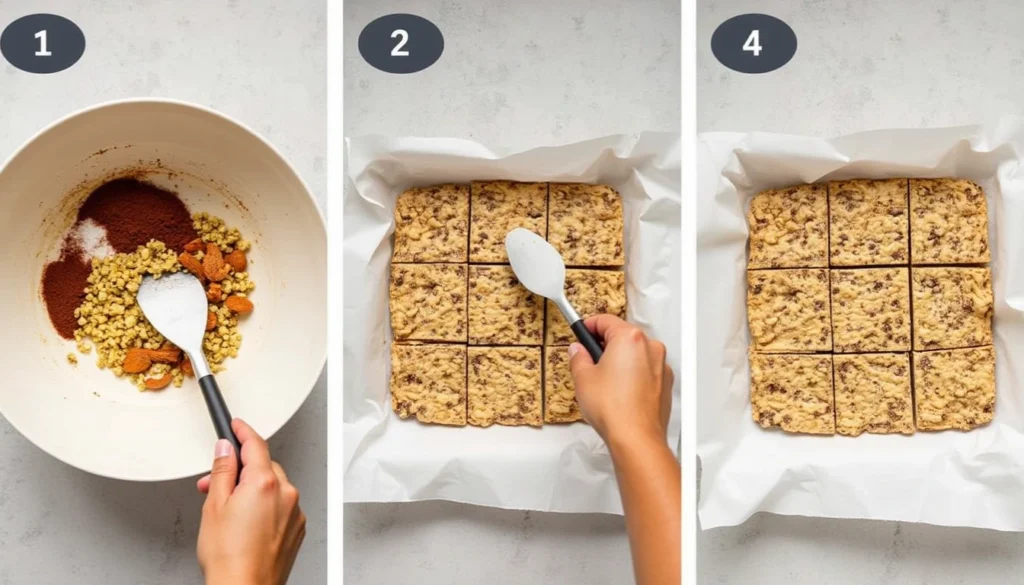
- Line an 8×8-inch baking dish with parchment paper, leaving some overhang on the sides for easy removal later.
- Mix the Dry Ingredients
- In a large mixing bowl, combine the rolled oats, plant-based protein powder, chia seeds, and a pinch of sea salt. Stir until evenly distributed.
- Create the Wet Mixture
- In a microwave-safe bowl, heat the nut butter and maple syrup for 20–30 seconds until softened. Alternatively, you can do this on the stovetop over low heat. Stir until smooth and creamy.
- Combine Wet and Dry Ingredients
- Pour the warmed nut butter mixture over the dry ingredients. Mix thoroughly until everything is well-coated and sticky.
- Fold in Extras
- Gently fold in your chosen add-ins, such as dried fruit, dark chocolate chips, or coconut flakes. This is where you can get creative with flavors!
- Press the Mixture
- Transfer the mixture to your prepared pan. Use a spatula or the back of a spoon to press it down firmly and evenly. For extra firmness, place a sheet of parchment paper on top and press with your hands.
- Chill to Set
- Refrigerate the pan for at least 2 hours or until the bars are firm and hold their shape.
- Cut and Serve
- Once chilled, lift the mixture out of the pan using the parchment paper. Slice into bars or squares of your preferred size.
These easy steps make the process foolproof, even if you’re new to vegan snack recipes. Once you try making them, you’ll wonder why you ever considered store-bought options! Ready for some pro tips to elevate your bars even further? Let’s go!
Pro Tips and Variations
Here’s how to make these vegan protein bars even better and tailor them to your taste:
Pro Tips
- Press Firmly for Better Texture: The more compact the mixture, the easier it will be to cut clean bars. Use a flat-bottomed glass or your hands with parchment paper to press the mixture down evenly.
- Chill Longer for Cleaner Cuts: While 2 hours is sufficient, chilling overnight ensures the bars hold their shape perfectly.
- Store Like a Pro: Wrap individual bars in parchment paper or store them in an airtight container to keep them fresh for up to a week in the fridge or a month in the freezer.
Creative Variations
- Go Nut-Free: Swap nut butter for sunflower seed butter to make the recipe allergy-friendly.
- Boost Protein: Add a tablespoon of hemp seeds or an extra scoop of protein powder for even more protein power.
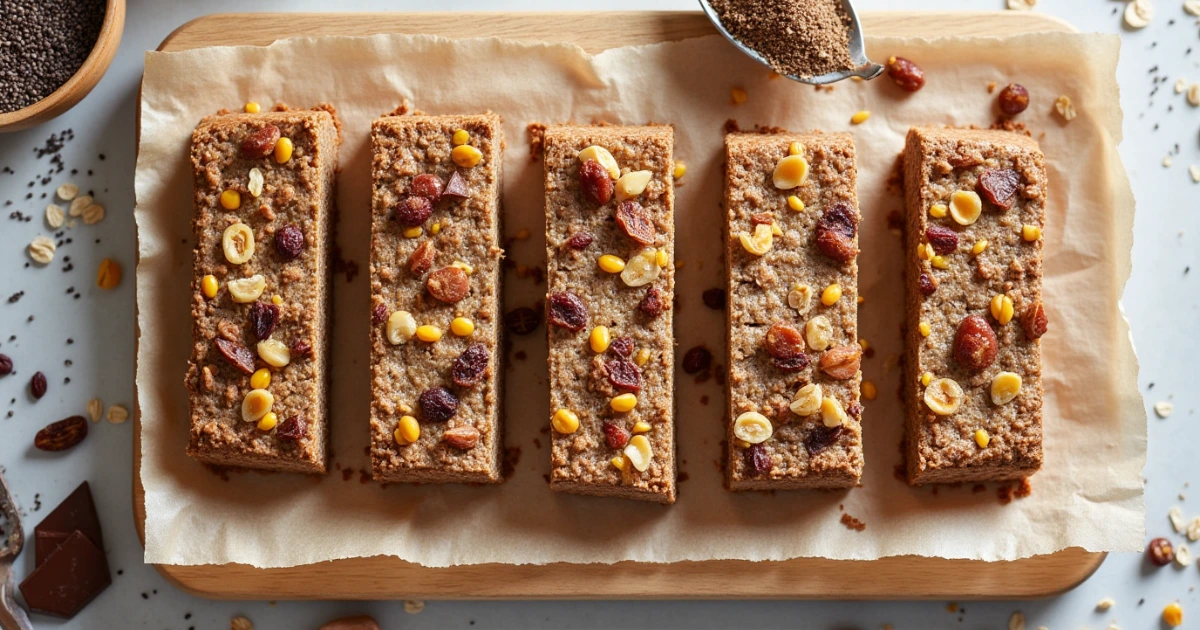
- Indulgent Twist: Drizzle melted vegan chocolate over the top before chilling for a decorative and delicious finish.
- Seasonal Flair: Mix in spices like pumpkin pie spice in the autumn or zest from citrus fruits in the summer for a seasonal vibe.
This recipe is a blank canvas for your creativity. Whether you’re crafting a snack for your vegan snack box or prepping for the week ahead, these tips will help you achieve flawless results every time. Up next: serving ideas that take these bars to the next level!
Serving Suggestions
These vegan protein bars are as versatile as they are delicious! Here are some creative ways to serve and enjoy them:

Quick Snack
- On the Go: Wrap individual bars in parchment paper for an easy grab-and-go snack during busy mornings or between errands.
- Post-Workout Refuel: Pair a bar with a refreshing smoothie or a glass of almond milk for a balanced recovery meal.
Breakfast Upgrade
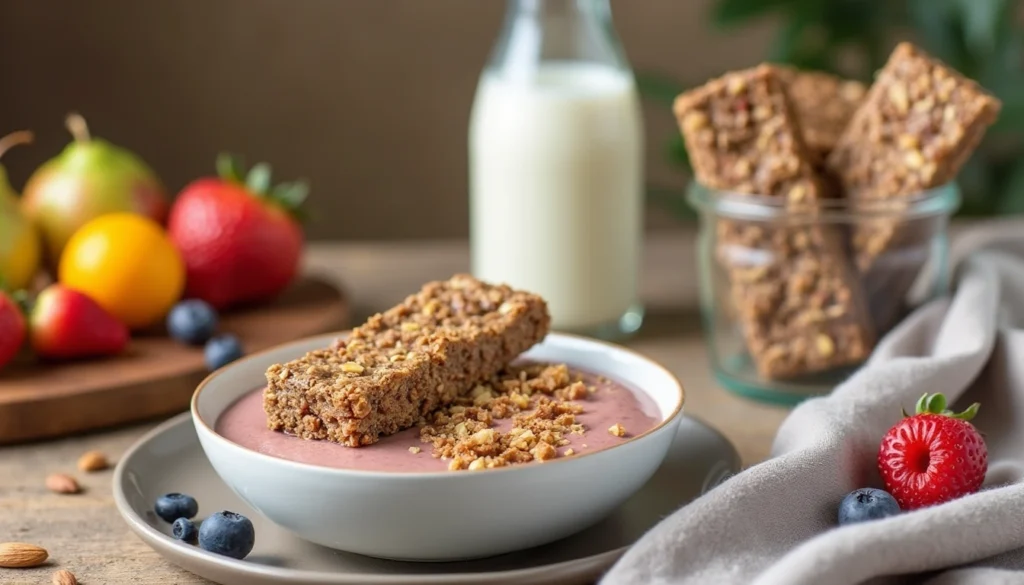
- As a Topping: Crumble a bar over your favorite dairy-free yogurt or smoothie bowl for added crunch and protein.
- Hearty Breakfast Combo: Serve alongside fresh fruit or spread a little extra nut butter on top for a more indulgent start to your day.
Party Pleasers
- Vegan Appetizer: Cut the bars into bite-sized pieces and arrange them on a platter with other finger foods like fresh fruit or mini vegan muffins.
- Snack Box Essential: Include these bars in a curated vegan snack box for gifting or a fun picnic treat.
Sweet Treat
- Dessert Drizzle: Add a drizzle of vegan chocolate or a sprinkle of coconut flakes to transform these bars into a satisfying dessert.
- Freezer Treat: Enjoy them straight from the freezer on a warm day for a cool and chewy treat.
With these serving ideas, you’ll find endless ways to make these bars part of your daily routine—or a hit at your next gathering. Ready to make your own? Let’s wrap things up with some final thoughts and FAQs!
Conclusion
Making your own vegan protein bars isn’t just about convenience—it’s about crafting a snack that perfectly suits your taste, nutritional goals, and lifestyle. Unlike many vegan snacks to buy, these bars are free from hidden additives, customizable to your preferences, and easy on the wallet.
Whether you’re looking for a quick post-workout bite, a midday pick-me-up, or a crowd-pleasing addition to your vegan snack box, this recipe delivers on all fronts. Packed with plant-based protein, natural sweetness, and plenty of texture, these bars are a testament to how satisfying homemade snacks can be.
The best part? You can tweak the ingredients to suit your mood, season, or pantry staples. So go ahead—get creative, and share these delicious bars with family and friends. After all, good food is always better when shared!
Got questions or ideas for variations? Let’s dive into some common FAQs to make your snack prep even smoother.
FAQs
1. Can I make these bars gluten-free?
Absolutely! Simply use certified gluten-free rolled oats, and the recipe will be suitable for those avoiding gluten.
2. How long do these bars stay fresh?
Stored in an airtight container in the fridge, these bars will stay fresh for up to a week. For longer storage, freeze them for up to a month. Just thaw for a few minutes before enjoying.
3. What can I use instead of protein powder?
If you don’t have protein powder, you can replace it with an equal amount of oat flour or almond flour. Keep in mind this will slightly reduce the protein content but still results in a delicious bar.
4. Are these bars kid-friendly?
Definitely! You can make them more appealing to kids by using mini vegan chocolate chips or adding a touch of cinnamon for a hint of sweetness.
5. Can I skip the maple syrup?
If you want a lower-sugar option, swap maple syrup for a sugar-free alternative like monk fruit syrup or simply increase the nut butter slightly for a similar texture.
6. Are Oreos vegan?
Interestingly, Oreos are considered vegan by many, but they’re highly processed and not the healthiest snack option. These bars, however, provide a wholesome, plant-based alternative packed with nutrition.
7. What’s the best way to take these bars on the go?
Wrap each bar individually in parchment paper or reusable wax wraps. Toss them into your bag or lunchbox for a mess-free snack wherever you are!
These FAQs cover the most common questions to ensure your vegan protein bar experience is as seamless and enjoyable as possible. Now it’s time to put these tips into action and enjoy the fruits of your labor!
There are no reviews yet. Be the first one to write one.

